
Revitalize Your Ride: A Medart Engines RP1 Repower Kit Wiring Conversion Guide for Rehlko/Kohler Swaps
Swapping out an old engine for a new one can breathe new life into your equipment. However, the wiring conversion can sometimes feel like a daunting task. Fear not! With a Medart Engines RP1 Repower Kit, converting the wiring on your Rehlko/Kohler engine when upgrading to a new motor becomes a straightforward process. This guide will walk you through the steps, ensuring a smooth transition and getting your machine back in action.
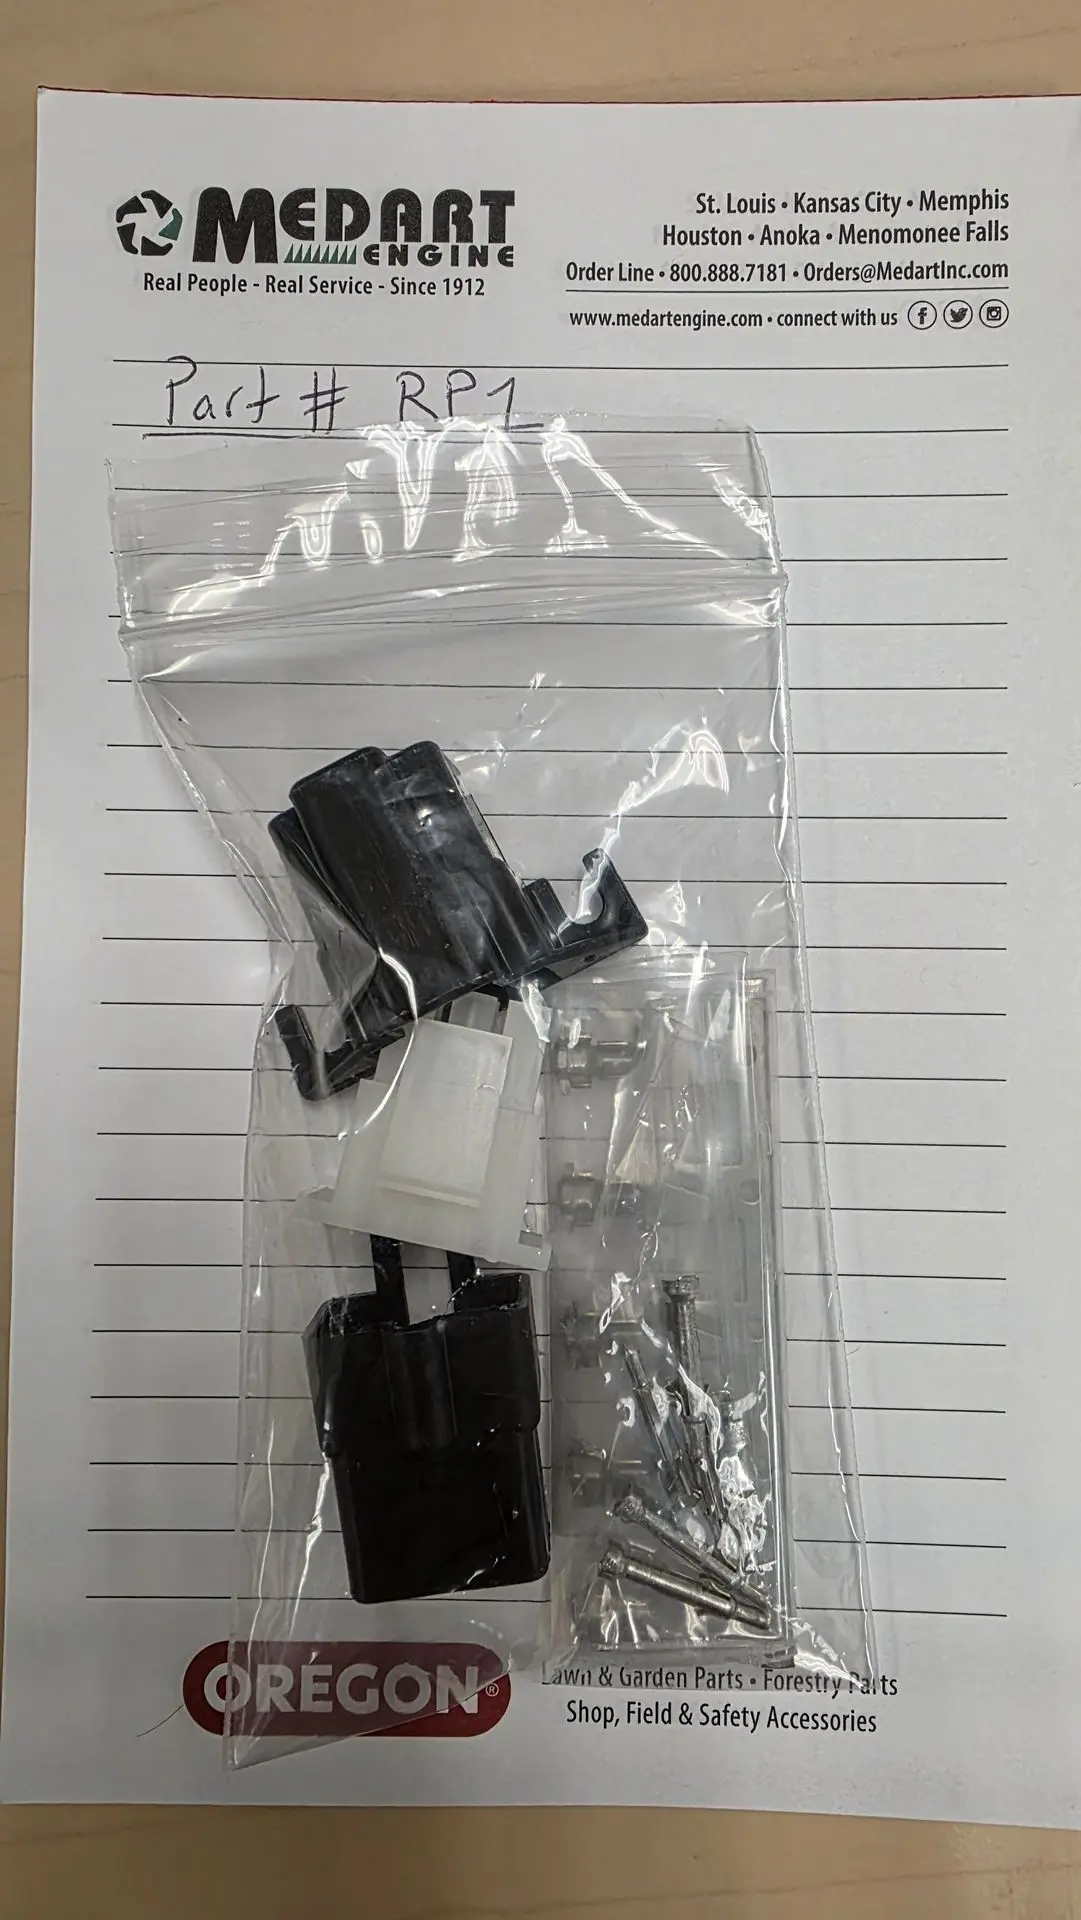
First, let's take a look at the Medart Engines RP1 Repower Kit.
The RP1 kit is designed to simplify engine swaps, providing all the necessary components for a clean and efficient wiring conversion.
Before you begin, it's crucial to understand the common color codes for the wires you'll be working with. This knowledge is your roadmap to a successful conversion.
Common Wire Color Codes:
Blue: Starter
White: Kill Switch
Red: Power and Fuel Solenoid
Green: Ground/Oil Switch
Yellow: Accessory
Now, let's dive into the conversion process!
Step 1: Disconnect the Old Engine's Wiring
Safety first! Before touching any wires, ensure your equipment's battery is disconnected. Carefully label each wire as you disconnect it from the old engine. This will help you identify the corresponding connections on the new engine and the RP1 kit.
Step 2: Install the RP1 Repower Kit Harness
The Medart Engines RP1 Repower Kit offers new connectors and terminal pins/ spades to onnect the main harness to your new engine's wiring, matching the color codes you learned earlier.
Step 3: Connect to the Equipment's Existing System
This is where your understanding of the wire color codes comes in handy. You'll be connecting your old engines modified harness with the RP1 to your equipment's existing wiring system.
Blue (Starter): Connect the blue wire from the RP1 harness to your equipment's starter solenoid.
White (Kill Switch): Connect the white wire to your equipment's kill switch circuit. This will typically go to the ignition switch.
Red (Power and Fuel Solenoid): The red wire will provide power to your engine and operate the fuel solenoid. Connect it to a fused 12V power source on your equipment, and then to your new engine's fuel solenoid.
Green (Ground/Oil Switch): The green wire is for grounding and the oil pressure switch. Connect it to a good ground point on your equipment and to the oil pressure sender on your new engine.
Yellow (Accessory): This wire is for any auxiliary accessories you might have. Connect it to your desired accessory, ensuring it has appropriate fusing.
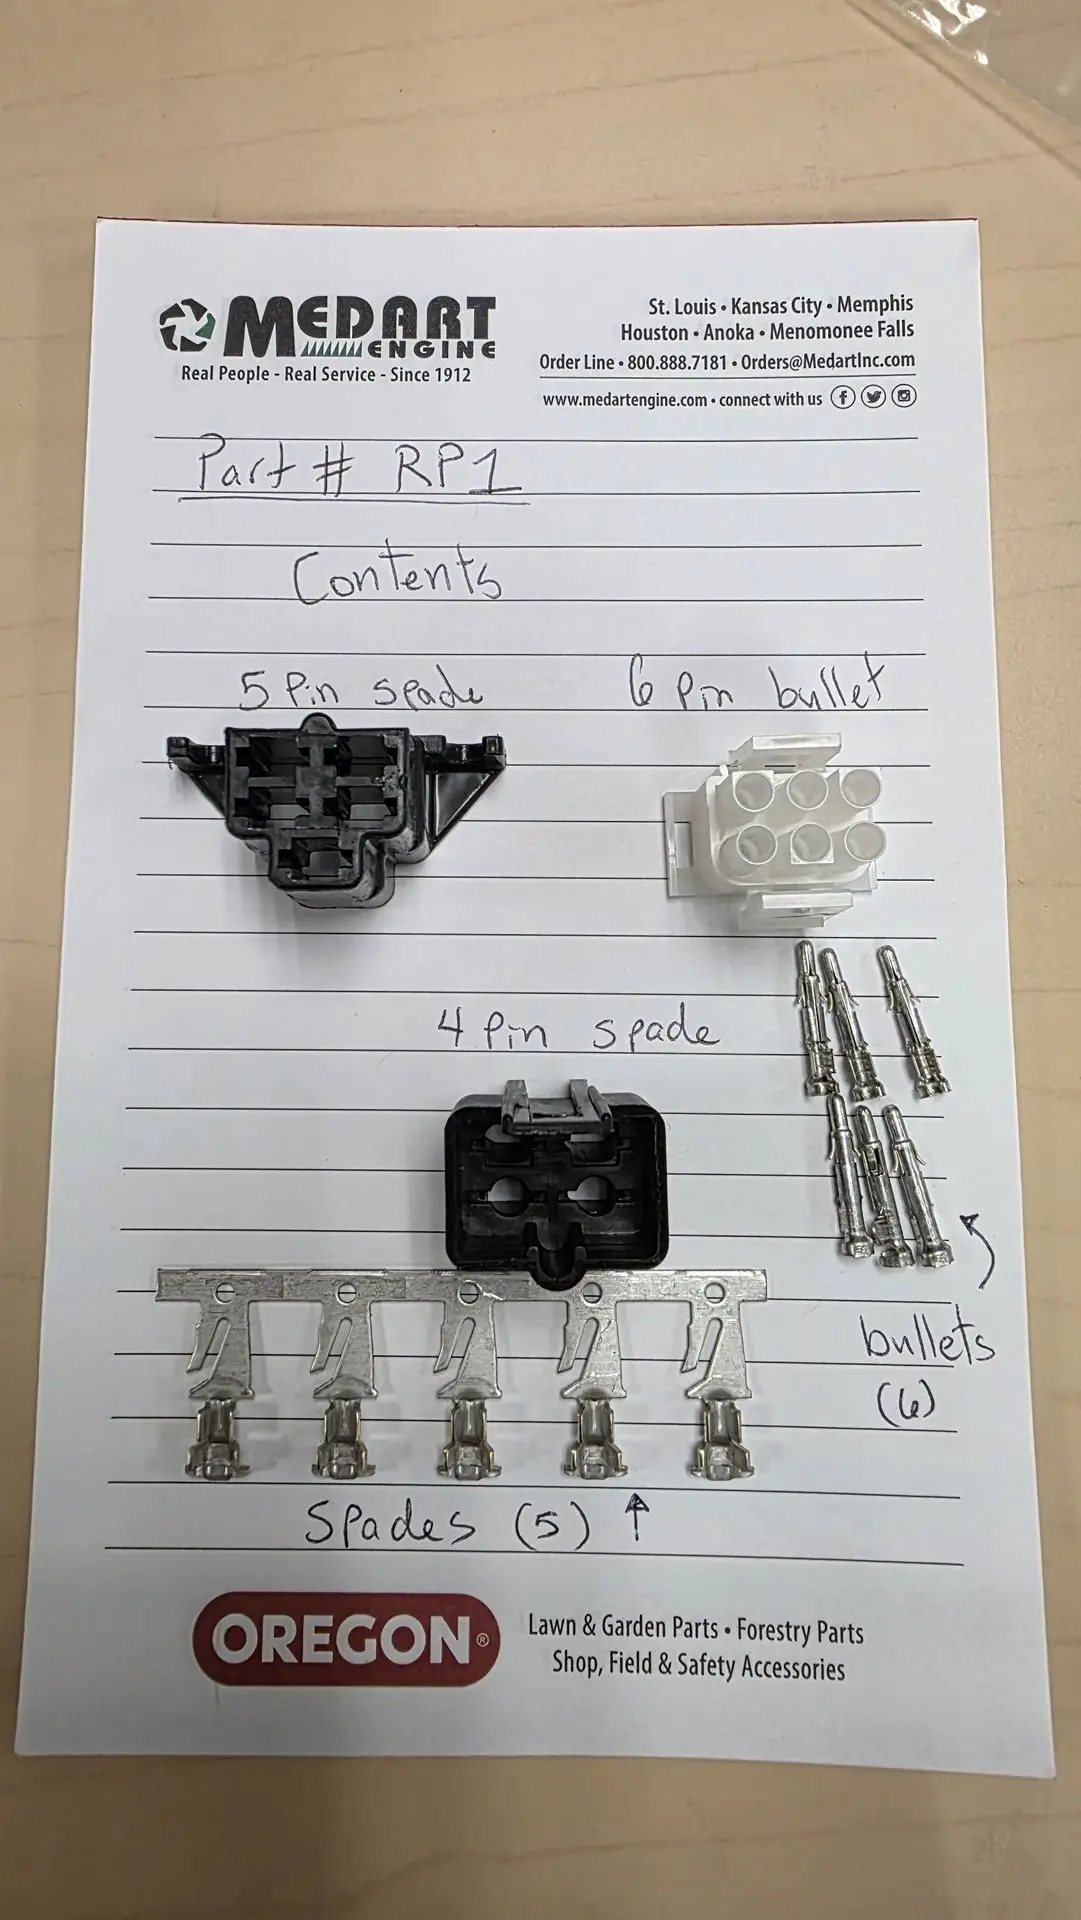
Here's another look at the kit and its components, which will help illustrate the connections.
Key
Milestone
Reaching new heights together
Innovation
Hub
Where ideas come to life
Step 4: Double-Check All Connections
Before reconnecting the battery, meticulously review all your connections. Ensure every wire is securely fastened and properly insulated. Loose connections can lead to electrical issues and potential hazards.
Step 5: Reconnect Battery and Test
Once you're confident in your wiring, reconnect your equipment's battery. Turn the ignition key and listen for the satisfying hum of your new engine. Test all functions, including starting, stopping, and any accessories you've connected.
Congratulations! You've successfully converted your wiring using the Medart Engines RP1 Repower Kit. This kit truly simplifies the process, allowing you to enjoy the performance of your new engine without the headache of complex wiring diagrams.
For further assistance or specific questions regarding your installation, always refer to the detailed instructions provided with your Medart Engines RP1 Repower Kit or contact Medart Engines directly. Happy repowering!